
3D Layered Panda SVG – Free File & Tutorial
3D Layered Panda SVG – Free File & Tutorial
Created by ©BeejuiCreations 2018-2022
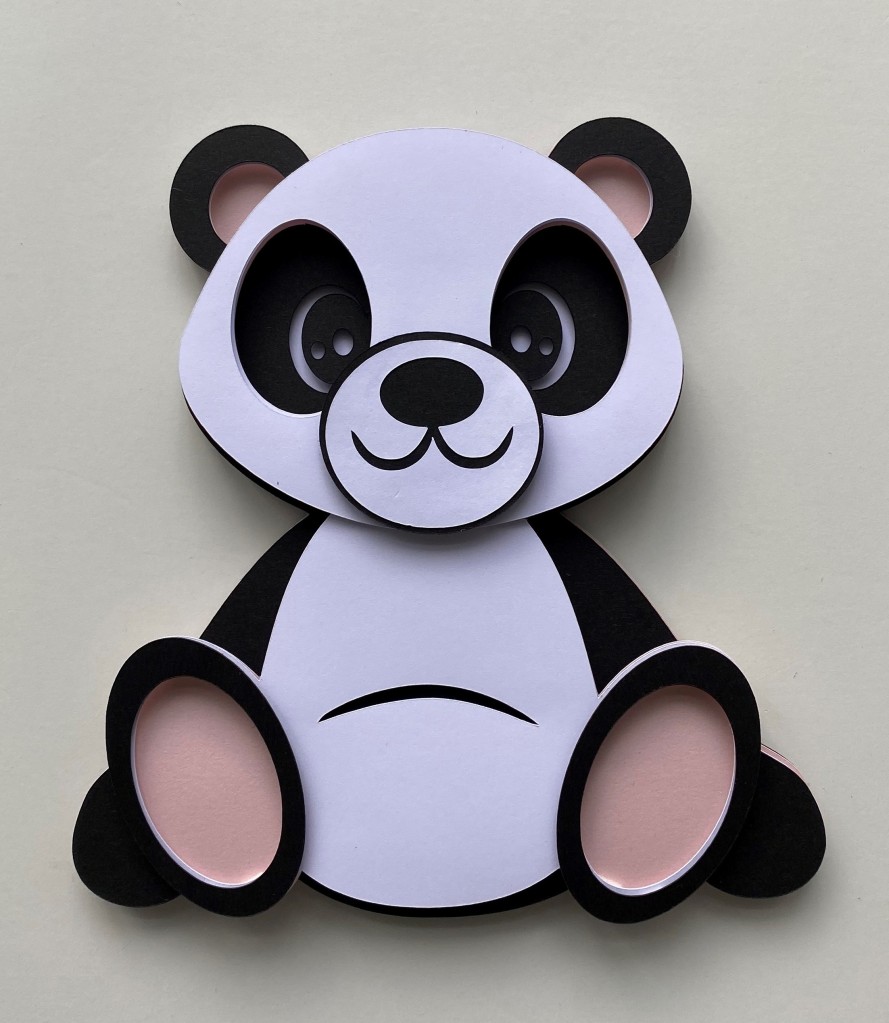
3D Layered Panda SVG – Free File & Tutorial. Create a great little layered card stock project with an easy to follow photo tutorial below.
Why not try this layered project out on your Cricut. You could add in your own quotes or personalise with a name and frame it in a shadow box. Perfect gift for a new baby/child’s bedroom or this could even be made into a cake topper.

I have created this project because I love all the layered projects all over the internet at the moment that can be made on your Cricut. I’ve only just started designing my own SVG’s so please let me know if there are any issues with these files.

3D Layered Panda SVG – Free File & Tutorial
To make this project you will need:
- Cricut Maker – Shop Cricut
- Cricut design space – Cricut Design Space™
- Free 3D Layered Panda – SVG File (download link below)
- Card Stock
- Pink – 1 A4 Sheet Pink Coloured Paper Pad 24 Pack from Hobbycraft
- White – 1 A4 Sheet Hobbycraft white card
- Black – 1 A4 Sheet Hobbycraft black card
- Blue Light Grip Cricut Mat –
- I used the blue light grip mat for all the layers.
This post contains affiliate links. If you use these links to buy something I may earn a commission. Thanks.
For a flat look, use adhesive spray or glue stick
- Adhesive
- Glue Pen – Hobbycraft Ultrastick glue pen
For the 3D look, use foam pads in between the layers and the above glue pen.
- Adhesive Foam Pads
- 3D Adhesive Foam Pads: Hobbycraft white foam pads
(NOTE: Hide the foam pads under each layer by using small foam pads or cutting them to size so you can’t see them).
3D Layered Panda SVG – Free File & Tutorial
Settings:
Cricut settings
- Resize the SVG within Design Space to fit the paper you are using or move the pieces in the edit mat program to make sure they all fit on the card stock. I resized this project to 14.06cm width by 15cm height to get it to fit all on the project I’m making this for.
- The material setting for the PINK & WHITE card layers
- LIGHT CARDSTOCK (65lb / 176GSM) – DEFAULT PRESSURE
- The material setting for the BLACK card layers (I bought a new pack of black card and it seemed a lot thicker than previous packs)
- MEDIUM CARDSTOCK – MORE PRESSURE
NOTE: All machines are different and there may be better settings but these are the ones that have worked for me.
See below for the tutorial
3D Layered Panda SVG – Free File Download
If you need help uploading this Free 3D Layered Panda – SVG File to Cricut Design Space, here’s a handy link to follow:
Cricut’s Blog – Search ‘How Do You Upload Images in Design Space?’
Please note this SVG file has only been tested by myself on Cricut Design Space and Affinity Designer. I cannot guarantee that you will not have any issues when using this SVG on other apps/software.
3D Layered Panda Tutorial
For the Free 3D Layered Panda, cut all the layers out on a Cricut Maker. Shop our cutting machine collection at Cricut.com
3D Layered Panda SVG Free File & Tutorial
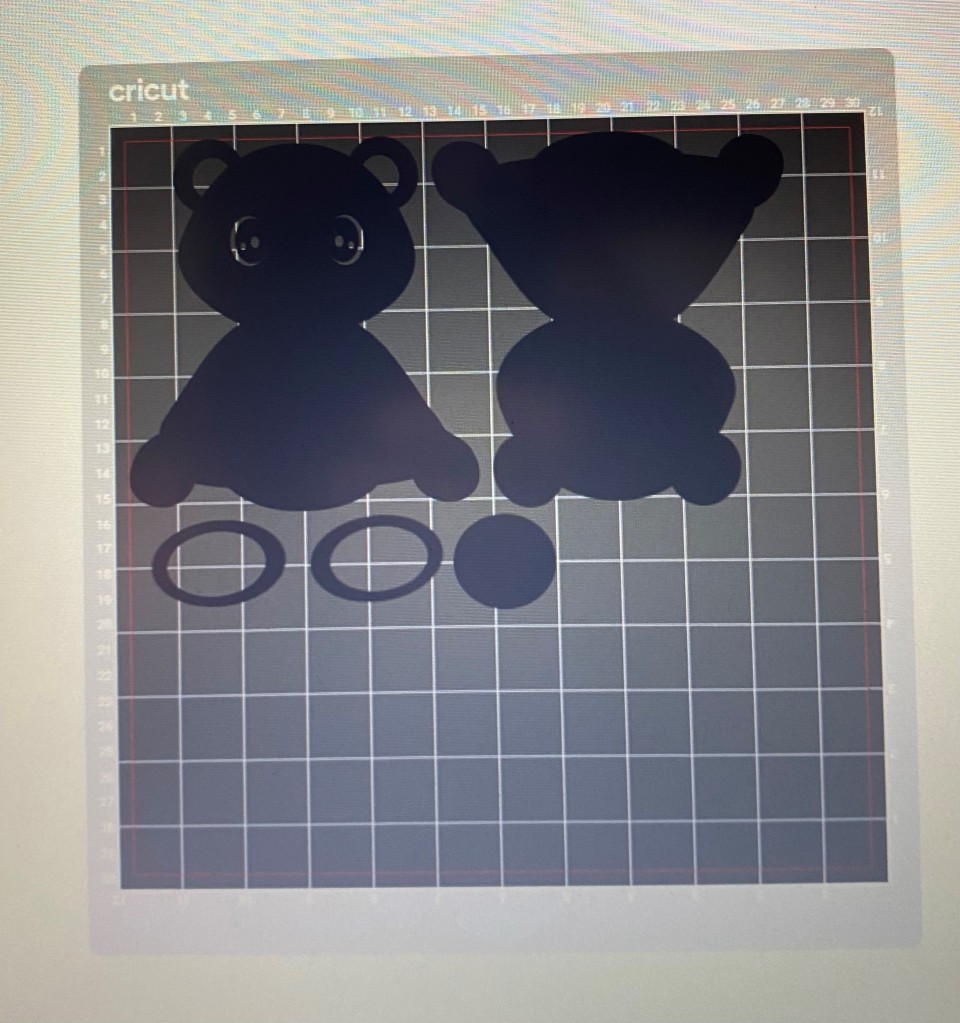
White Card Mat Layout
Move the pieces on the mat within design space to get it all to fit on one A4 sheet. See below:

Black Card Mat Layout
Move the pieces on the mat within design space to get it all to fit on one A4 sheet. See below:
Once all the layers are cut, arrange them as below:

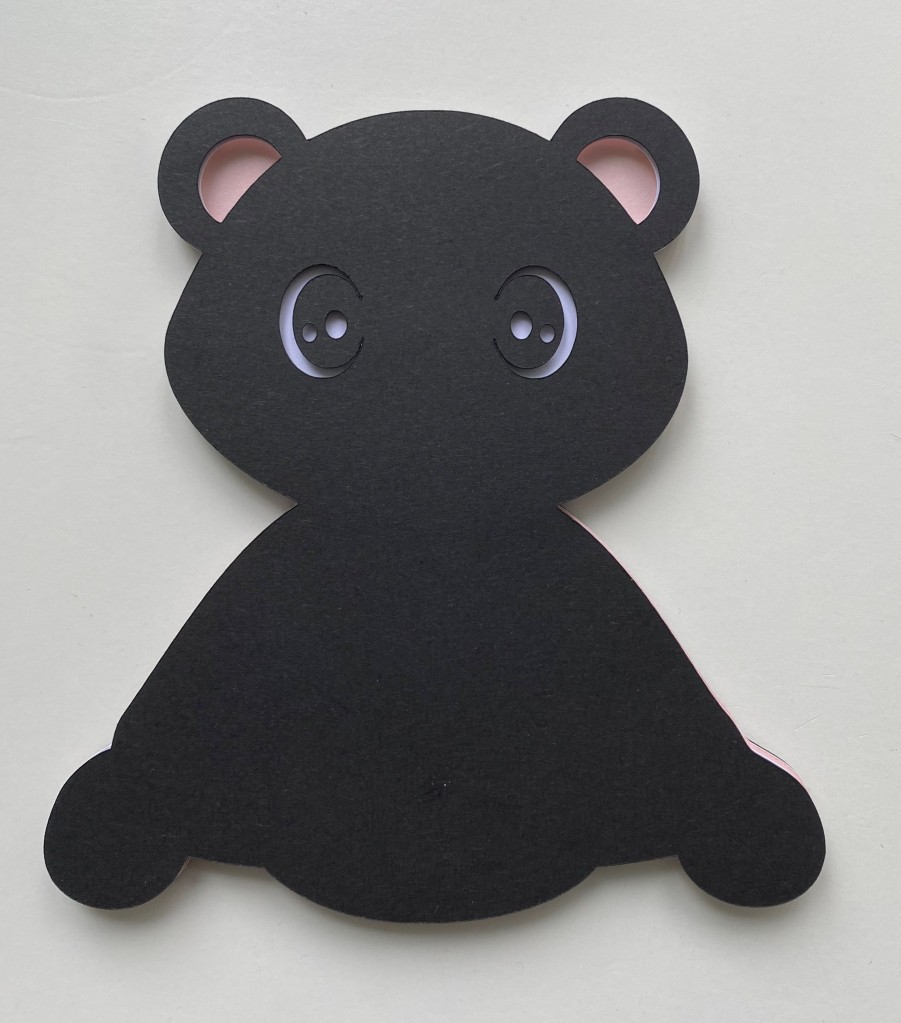
Background Layer 1 
Layer 2 
Layer 3 
Layer 4 
Layer 5 
Layer 6 
Layer 7 – Head 
Layer 8 – Nose x2 
Layer 9 – Feet x 2
3D Layered Panda SVG Free File & Tutorial
First Section
- Apply self-adhesive foam pads to the back of Panda Layer 2 and apply centrally to Panda – Background Layer. (I found it easier for positioning to align the ears and feet together first).
See the image below for placement:

Second Section
- Apply self-adhesive foam pads to the back of Panda Layer 3 and apply centrally to Panda Layers 1 & 2. (I found it easier for positioning to align the ears and feet together first).
See the image below for placement:

Third Section
- Apply self-adhesive foam pads to the back of Panda Layer 4 and apply centrally to Panda Layers 1, 2 & 3. (I found it easier for positioning to align the ears and feet together first).
See the image below for placement:
Fourth Section
- Apply self-adhesive foam pads to the back of Panda Layer 5 and apply centrally to Panda Layer 4 (which is already adhered to Panda Layer 1, 2, & 3).
See the image below for placement:

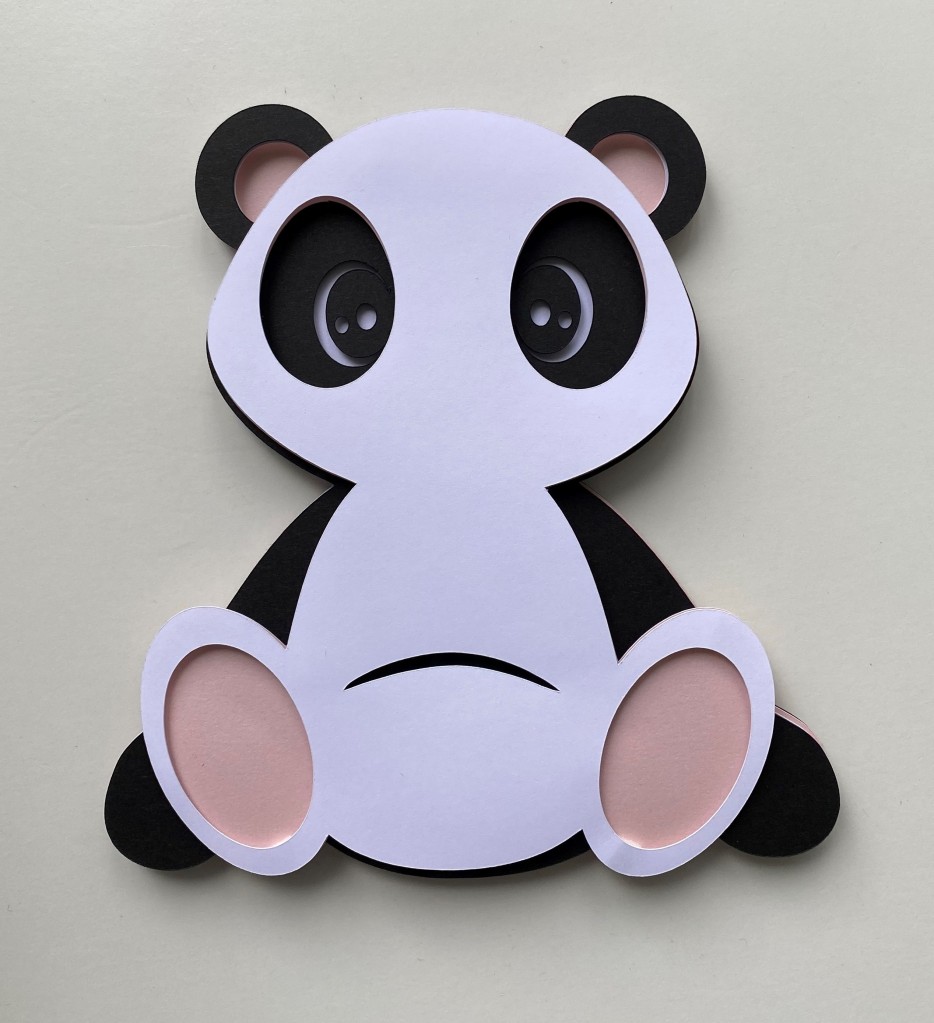
Fifth Section
- Apply self-adhesive foam pads to the back of Panda Layer 6 and apply centrally to Panda Layer 5 (which is already adhered to Panda Layer 1, 2, 3 & 4).
See the image below for placement:
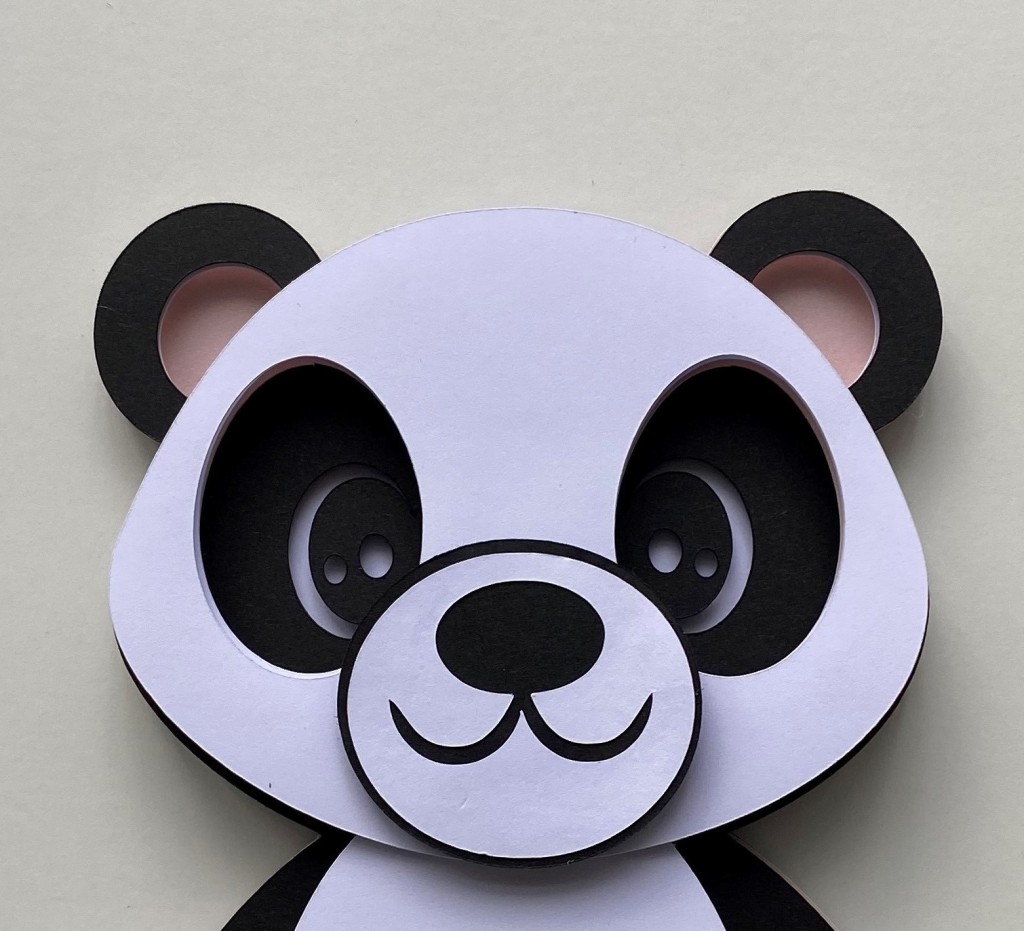
Face Section
- Apply self-adhesive foam pads to the back of Panda Layer 7 – Head and apply centrally to the head section of Panda Layer 6 (which is already adhered to Panda Layer 1, 2, 3, 4 & 5).
See the image below for placement:

- Using the glue pen, adhere the white piece of Layer 8 – Nose to the black piece of Layer 8 – Nose. Align centrally.
See the image below for placement:

- Apply self-adhesive foam pads to the back of the above Layer 8 – Nose piece and apply centrally to the head of previous layers.
See the image below for placement:
- Apply self-adhesive foam pads (cut in half) to the back of Layer 9 – Feet x 2 and adhere each one to the Pandas feet. Align centrally.
See the image below for placement:
3D Layered Panda SVG Free File & Tutorial
All Finished


I hope you have enjoyed this free file for creating your very own Free 3D Layered Panda. If you need any further guidance please contact me at Beejui Creations
Notice: This design file is for personal use ONLY. This file or parts of it must not be reproduced or published (printed or online), altered, resold or used for commercial purposes without authorization.
Do not copy, sell or translate any of the images on this page without authorisation. You can share to Social Media but please link back to this page. Thank you.
Copyright © Beejui Creations 2018 – 2022. All Rights Reserved.
Follow my blog by joining my email list
Check out my other Layered Card Stock Projects:
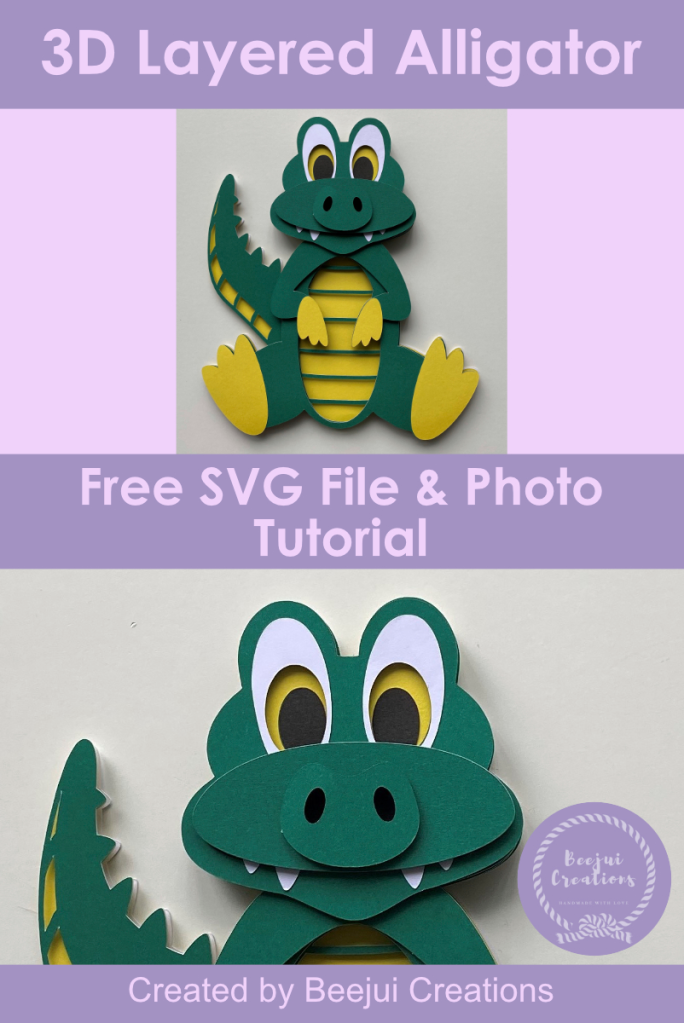
3D Layered Alligator SVG – Free File & Tutorial 
3D Layered Tiger SVG – Free File & Tutorial 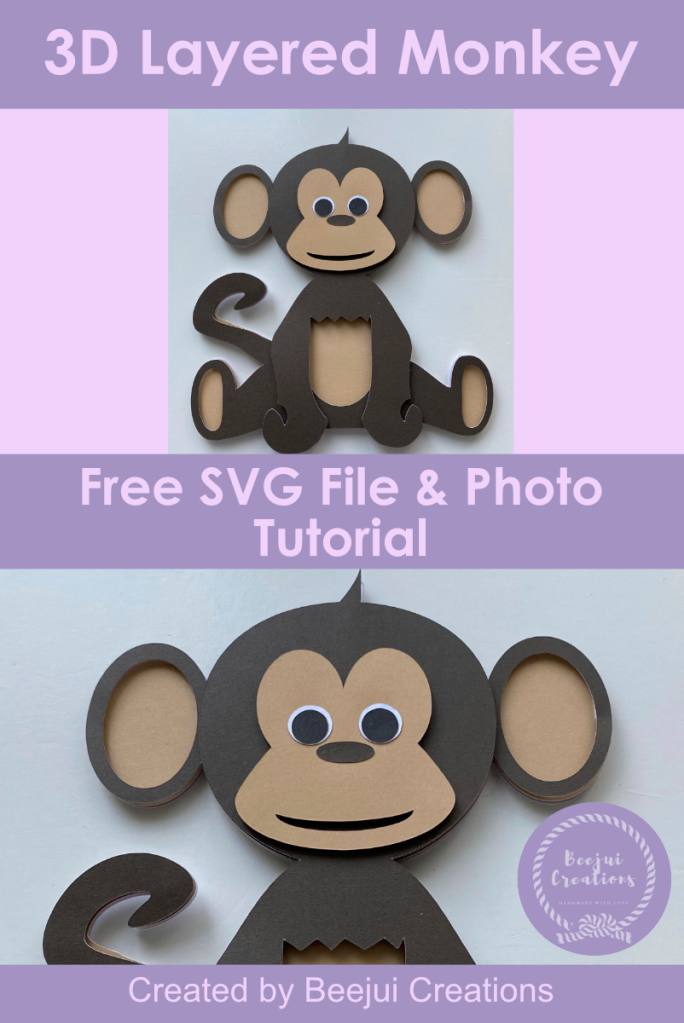
3D Layered Monkey SVG – Free File & Tutorial 
3D Layered Elephant SVG – Free File and Photo Tutorial 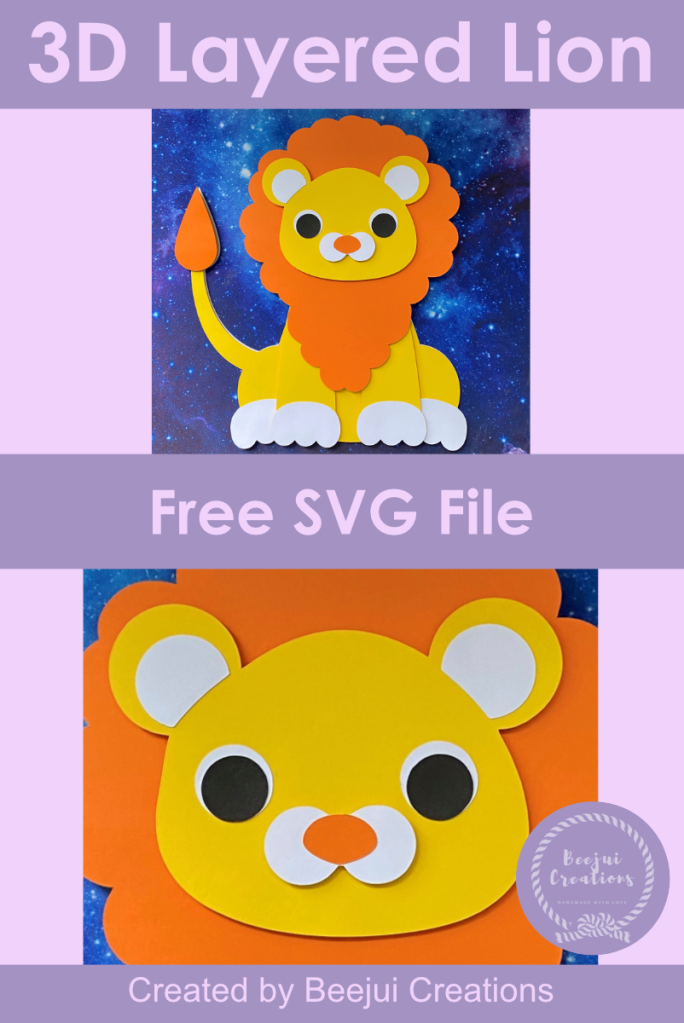
Free 3D Layered Lion – SVG File 
Free 3D Layered Giraffe – SVG File 
3D Mandala Grey Wolf – Layered Free SVG 
3D Pastel Layered Flower – Free SVG File 
3D Mandala Letter ‘A’ – Free SVG Link
Blog Cricut Makes FreeSVG Layered projects Shadow Box Frames 3D Cardstock Cricut Cricutmaker FreeSVG handmade layered Panda SVG

