
Greatest Gift Personalised Ornament
Greatest Gift Personalised Ornament
Created by ©BeejuiCreations 2018-2022
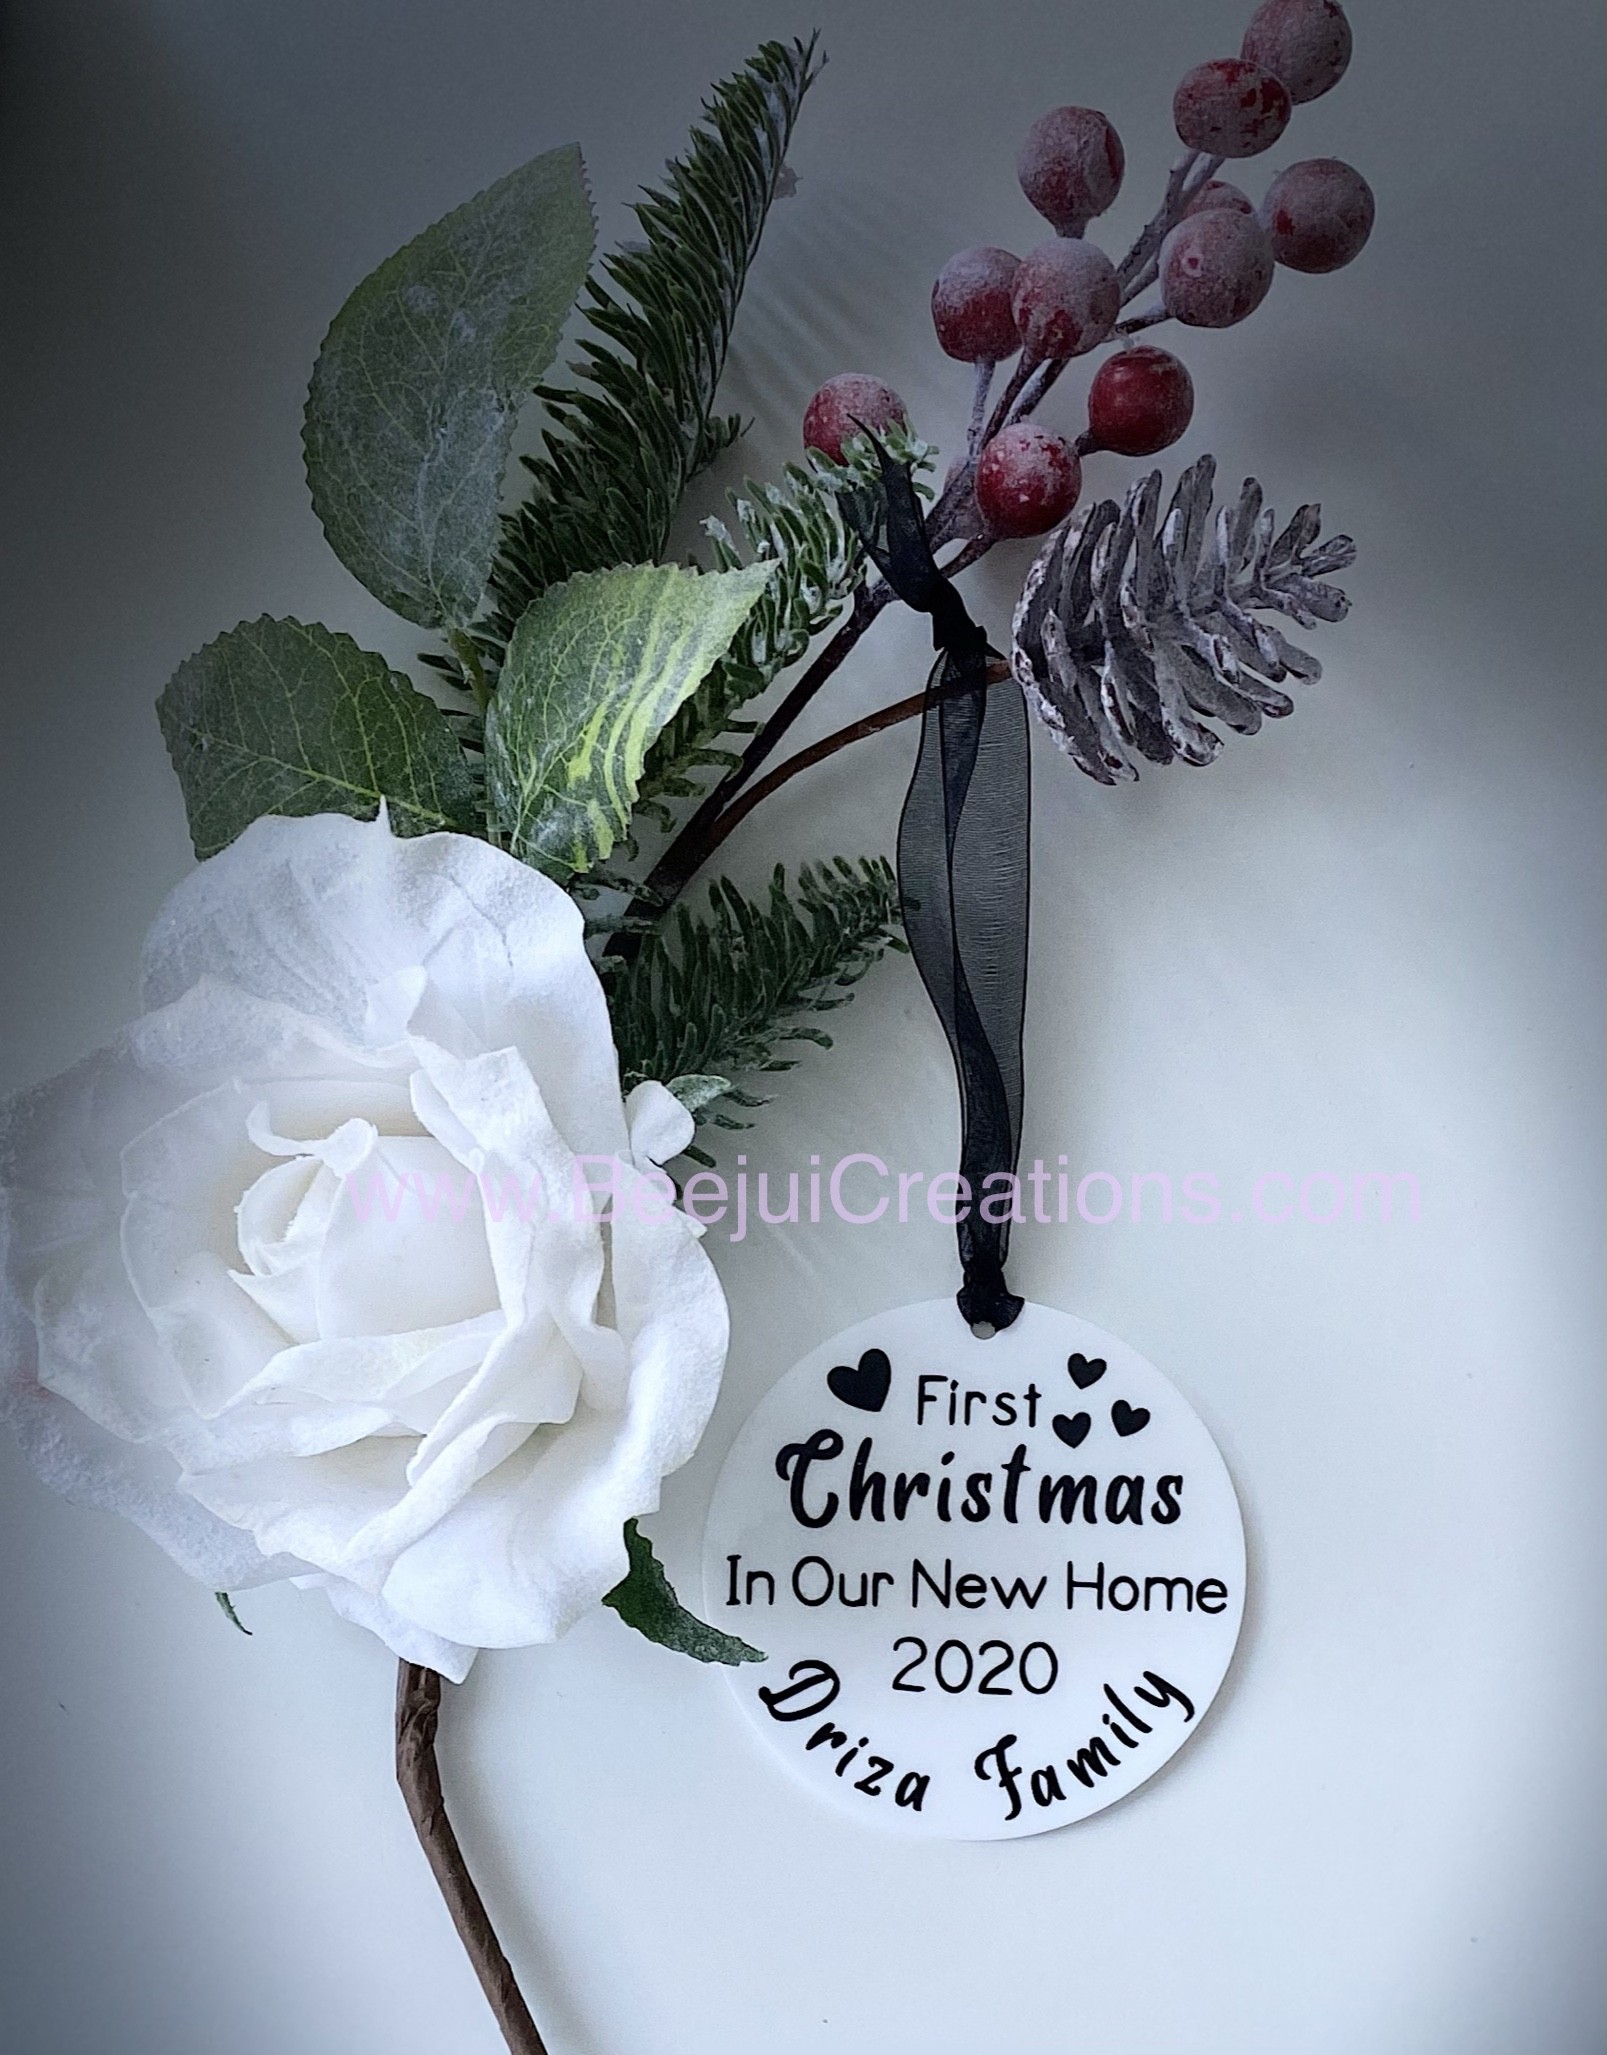
The greatest gift definitely is family! I finally got around to making myself something and I absolutely love it!
To clarify this Christmas ornament project was created on a Cricut Maker.

Greatest Gift Personalised Ornament
Materials
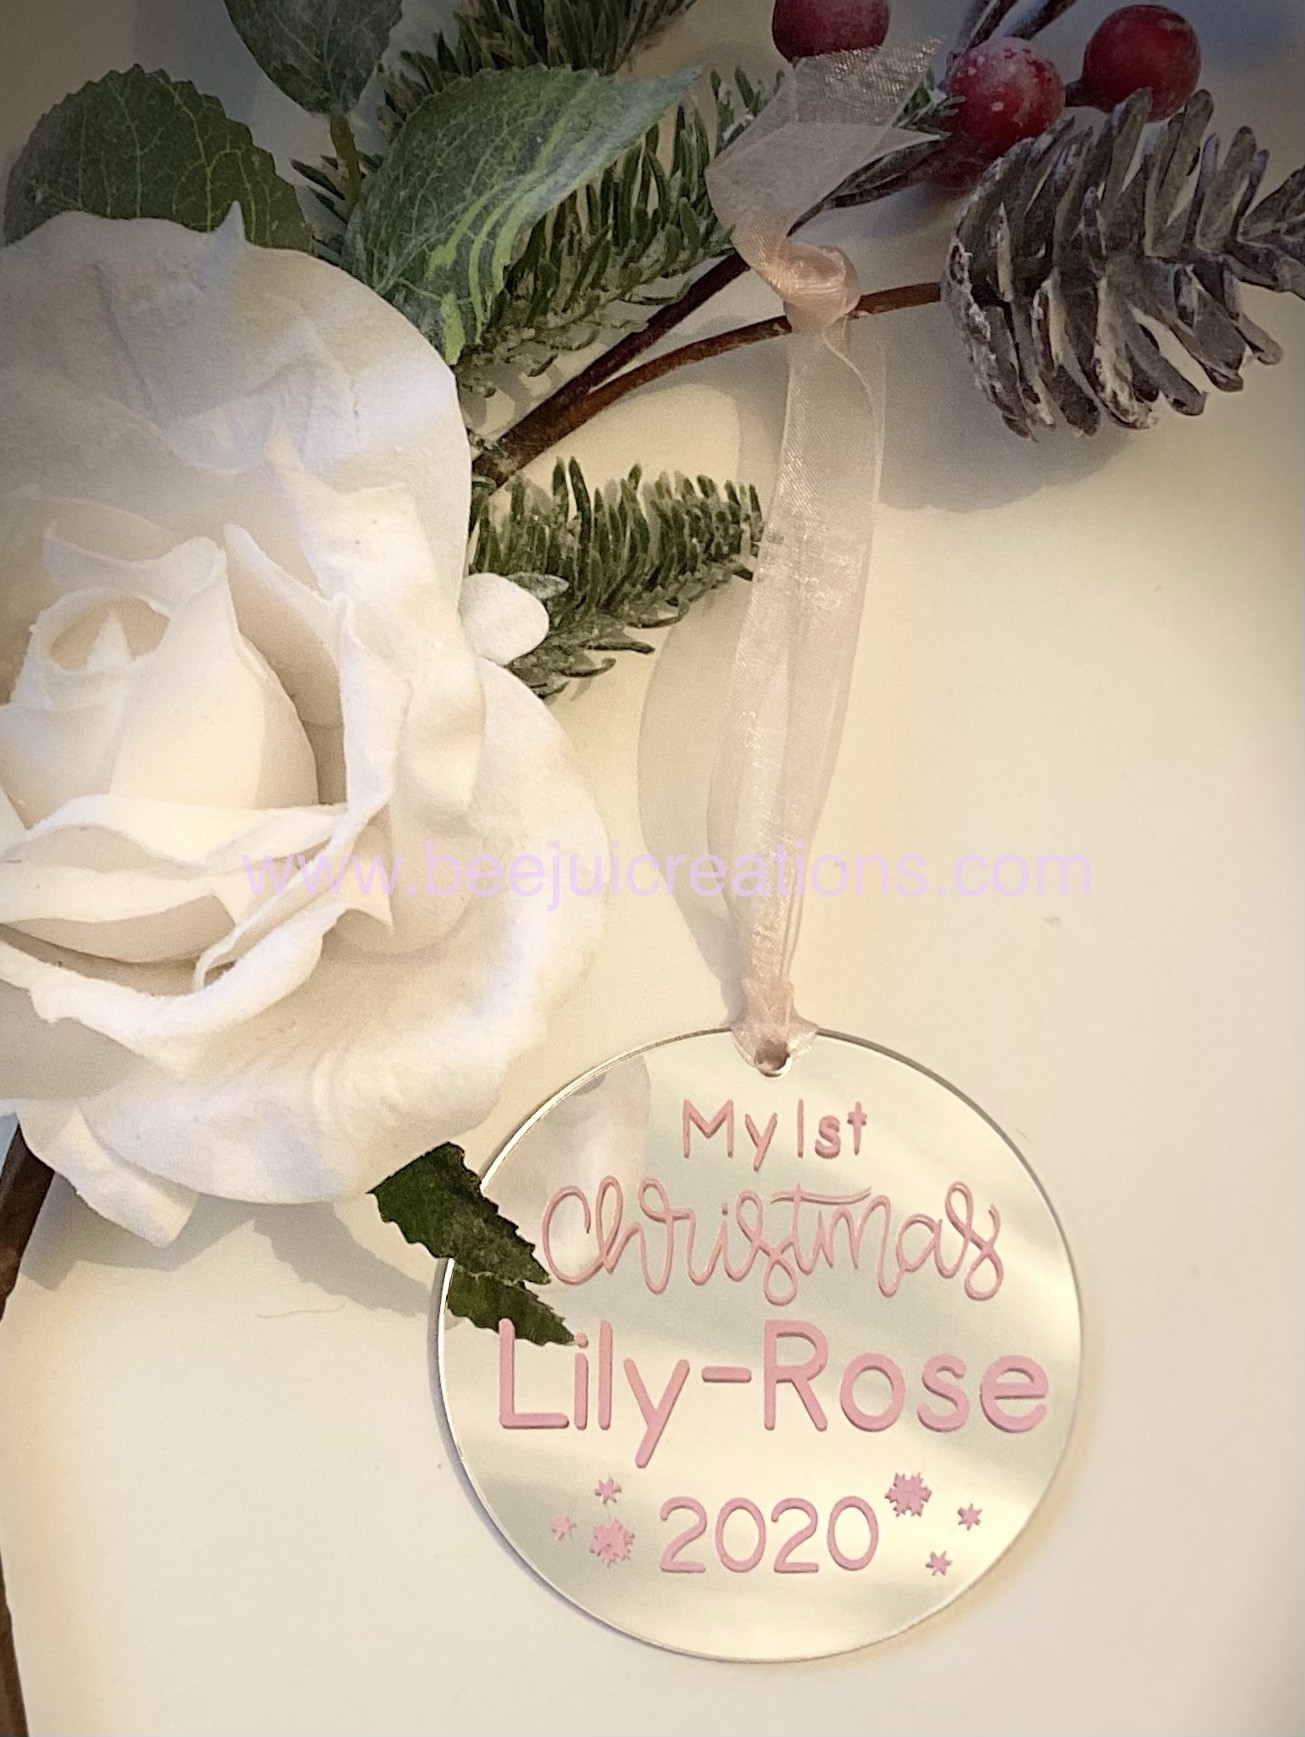
Firstly, you will need an acrylic blank ornament. The ornament shown in the pictures, for example, is a mirrored 8cm Acrylic 3mm thick circle from Woodform Crafts. Here is the link:
Secondly, you will need a Cricut machine –Shop Cricut and the design required for this is in Cricut Design Space – Cricut Design Space™. Subsequently, to access this you will need a Cricut Access subscription. This is the link for the file required:
https://design.cricut.com/landing/project-detail/6037851537908b0cf4a26632
As soon as you have loaded the design, you can customize it more and add in text for the names and extra hearts etc.
Before clicking ‘Make it’ hide the 8cm back circle and select all of the design, then WELD.
This design uses timberly script font but if you do not have you can choose a font available to you. Or purchase the font from https://fontbundles.net/bundles (this was free on 25.02.21).
https://fontbundles.net/free-fonts/script-fonts/timberly#gtmList=5>mPos=2
Furthermore, you will also need a 10cm piece of permanent vinyl for this project. This is the vinyl I have used in this project:
This post contains affiliate links. If you use these links to buy something I may earn a commission. Thanks.
Process
Start the project by loading the Cricut machine with the mat and vinyl then press start to cut. Above all please make sure that you use the correct material settings for the vinyl being used.
As soon as the Cricut has finished cutting, eject the mat and carefully remove the cut vinyl sheet. At this stage you can proceed to weed your design.
TIP: for small writing, intricate designs etc. place transfer tape over the whole design before weeding it. Turn the design over, take the backing paper off and weed straight off of the transfer sheet. As a result this keeps all the tiny letters firmly stuck down and stops them moving about.
Lastly, you will need approximately 15cm of ribbon or cord to make the hanger for your ornament. I prefer the cord for a neater finish, link for this is below.
Cord – https://www.hobbycraft.co.uk/black-ribbon-knot-cord-2mm-x-10m/568020-1003
Furthermore if you don’t use or have a Cricut machine, these Acrylic Ornaments are for sale in my facebook shop Beejui Creations | Facebook

Follow my blog by joining my email list
Check out my other designs of Acrylic Ornament Posts:


Notice: This design file is for personal use ONLY. This file or parts of it must not be reproduced or published (printed or online), altered, resold or used for commercial purposes without authorization.
Do not copy, sell or translate any of the images on this page without authorisation. You can share to Social Media but please link back to this page. Thank you.
Copyright © Beejui Creations 2018 – 2022. All Rights Reserved.
Acrylic Blog Christmas Cricut Makes FreeSVG Seasonal acrylic Cricutmaker Family FreeSVG handmade Personalised Silver SVG Vinyl White

